Define the export
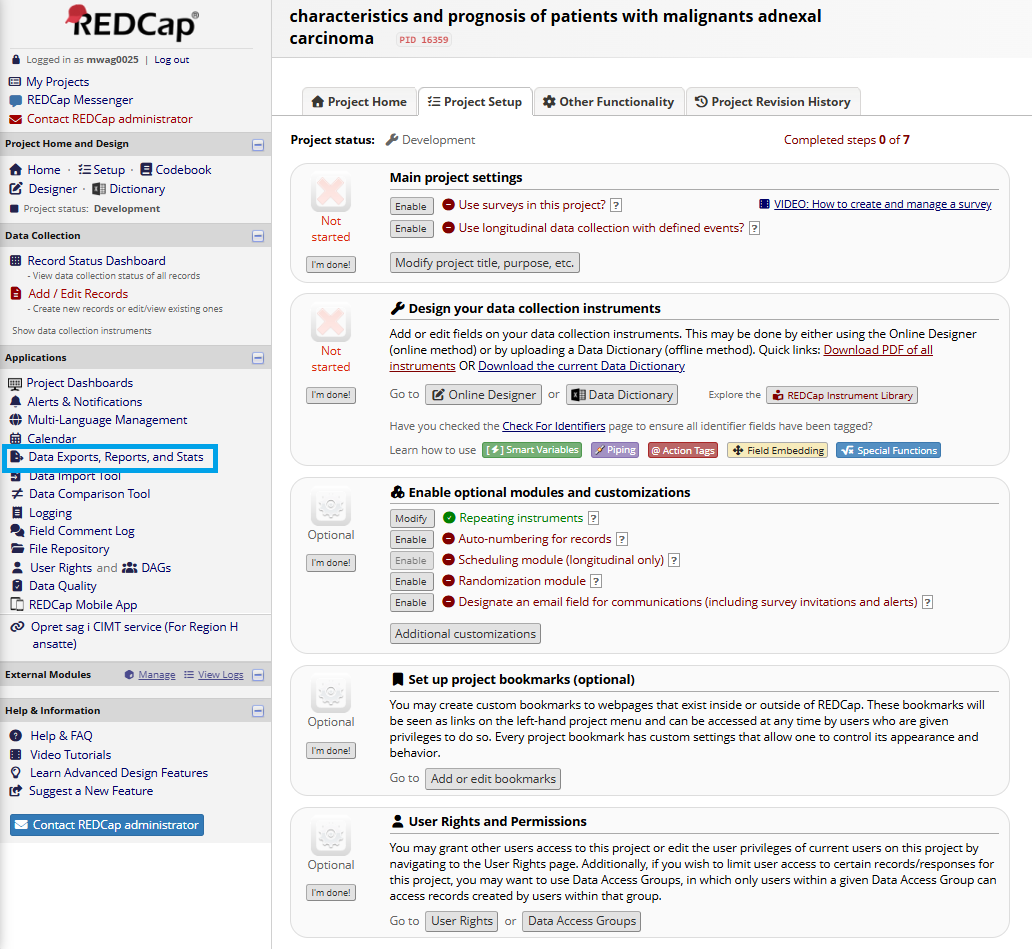
Open your project in Redcap and find the export tab on the left side
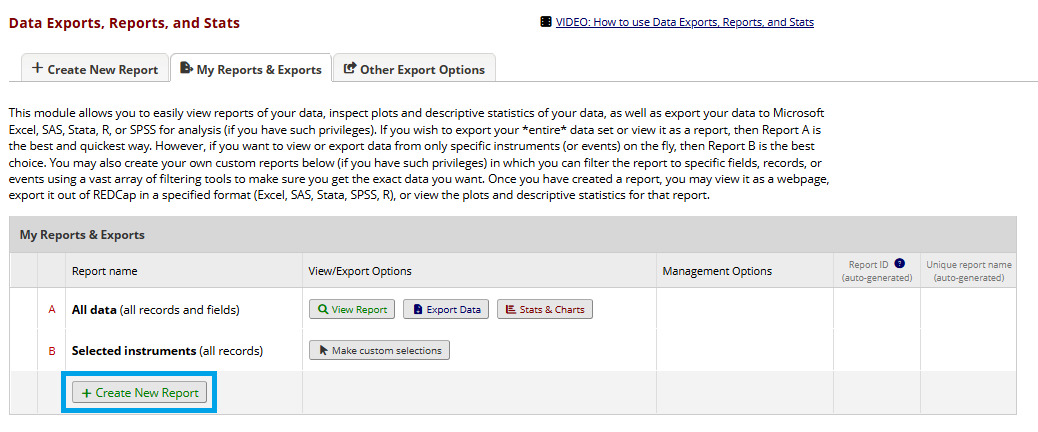
Now create a new report. Here you define which parts of the data in redcap you wish to export.
Give the report a name and choose the name of the project under “Add fields from instrument”. This adds all data from that specific instrument. In this example the project (instrument) is named MAT.
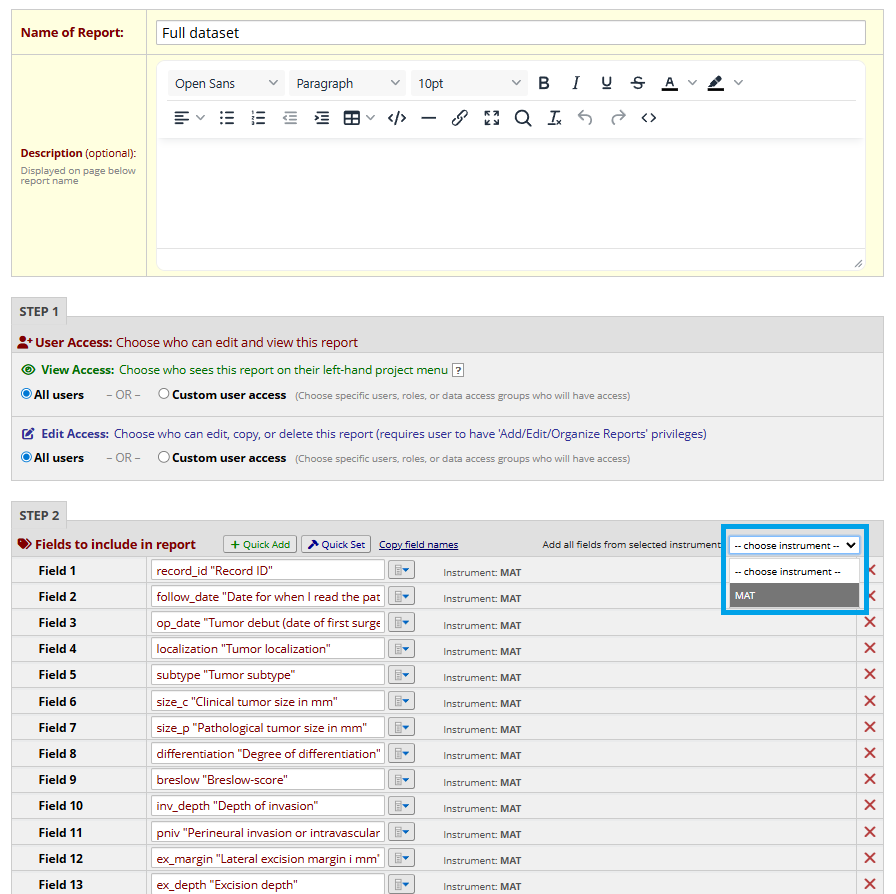
An important field that needs to be checked is that multiple values should be collapsed into one column

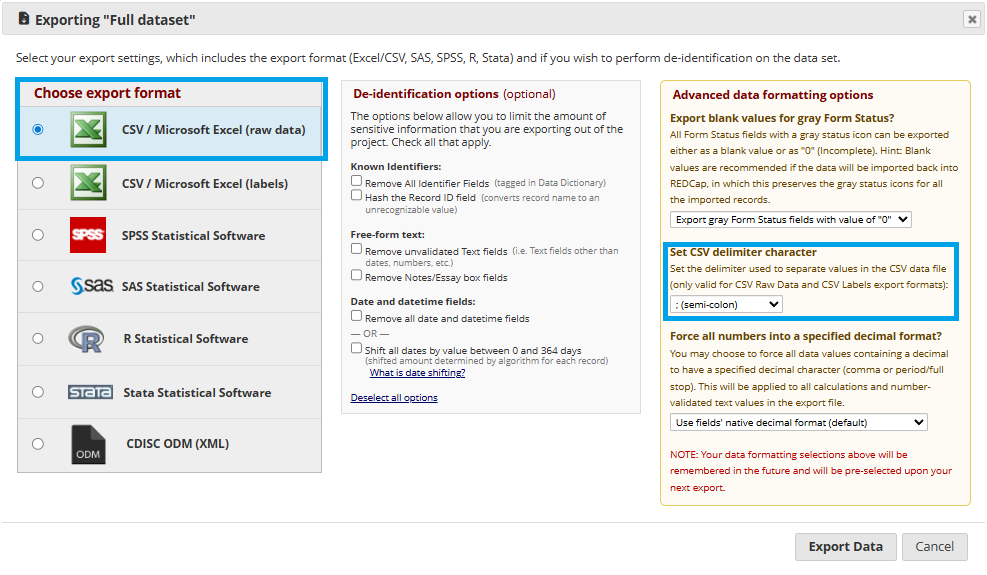
Export Redcap data
When a report/export has been defined it will show in the data exports. Select “export data” to export the specified data in that given export.
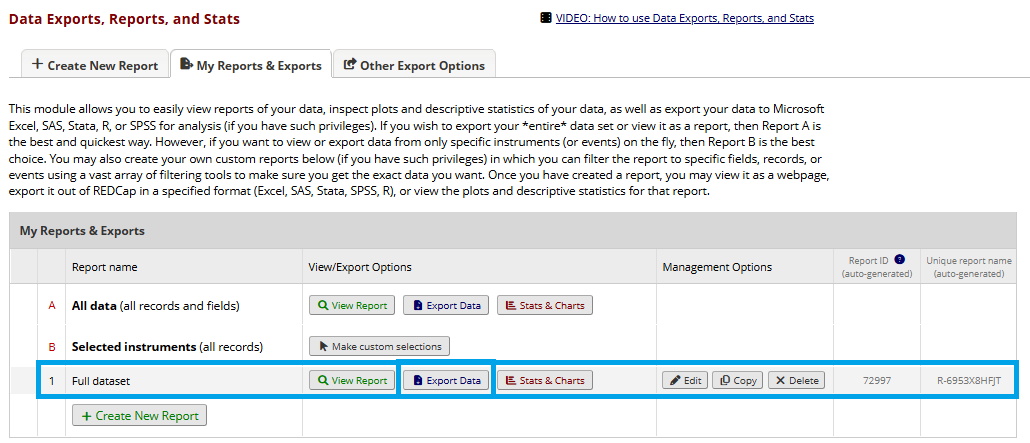
The format should be semi-colon separated csv.
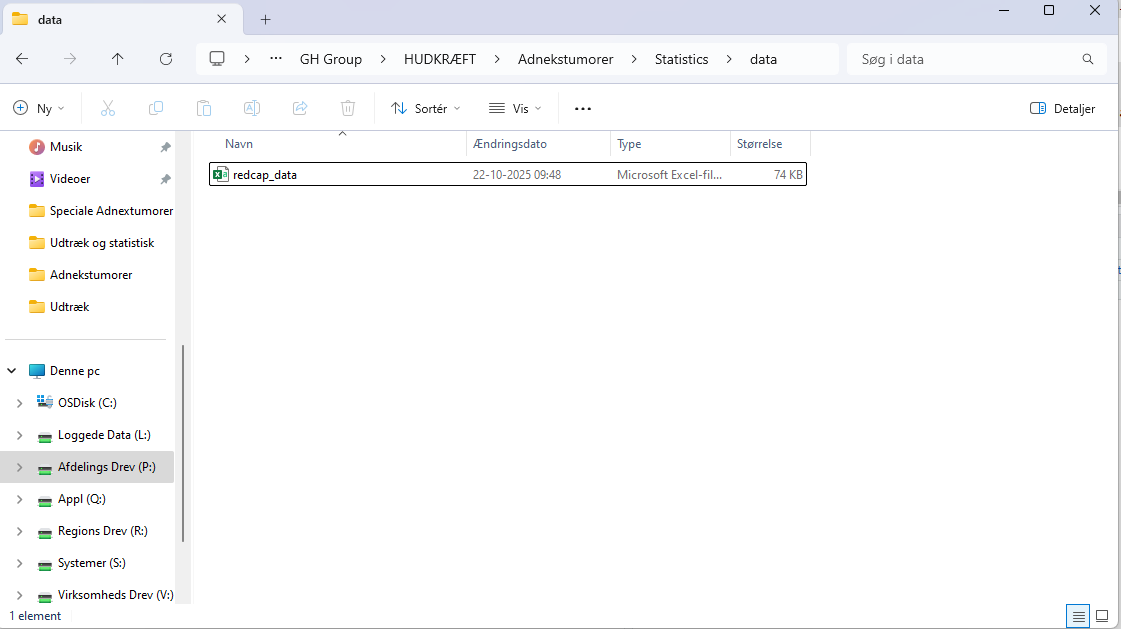
Next, move the file to the data folder in your statistics folder for the project
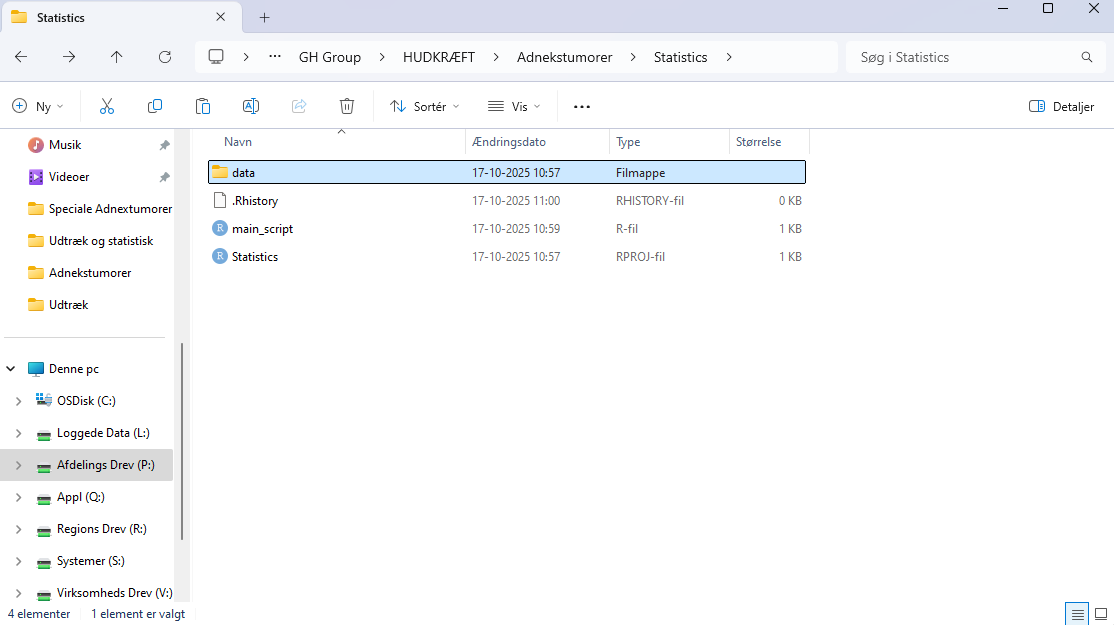
Rename the file for brevity, here we name it redcap_df. If multiple datasets are placed here add a date.
Finally, load the data into R using the function
readR(). The path can be simplified to:
“data/redcap_data.csv” as the project file already knows the entire path
to the main folder (working directory). Here we assign the data to the
object “raw”.
mydata <- readR("data/redcap_data.csv")Import redcap with labels
Redcap sheets do not automatically come with all the customized
labels from the redcap modules. To import these, use the
redcapR function. The function needs a redcap dataset (in
this case our redcap_data.csv) and the data dictionary that contains all
labels.
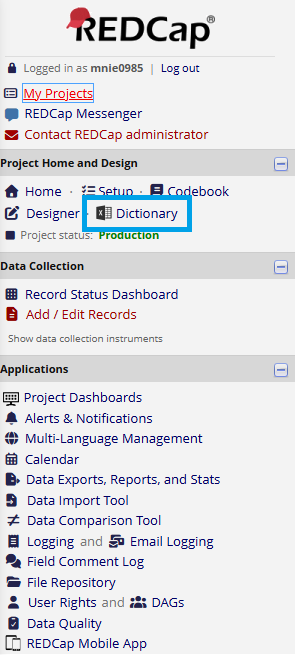
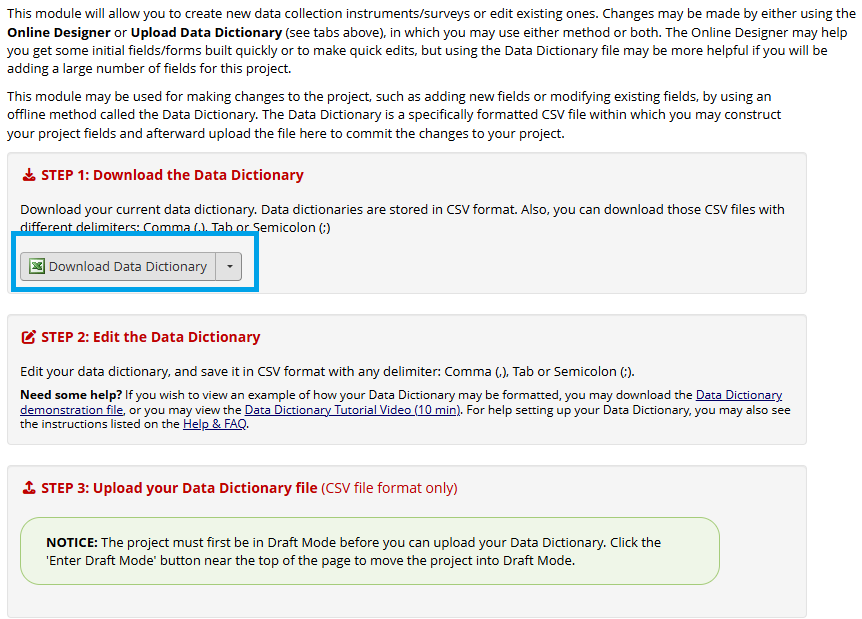
The data dictionary can be found in the
Dictionary panel
When the redcap dataset and data dictionary have been saved in the
data folder, they can be used in the redcapR()
function